GameBoy advance remake
Modding a GameBoy advance
Introduction
I have long considered doing some custom modding of older GameBoys, and recently I attended a small retro console fair here in Denmark. There, I purchased an old GameBoy Advance with a Pokémon Sapphire game.
The plan
My general plan was to upgrade to a backlit screen and add USB-C charging and a battery to the console. Due to the condition of the console, I also decided to change the shell of the GameBoy. I opted for parts from funnyplaying as it was possible to get a shell and laminated IPS screen that didn’t require modifying the shell for the screen to fit.
My full list of components:
The work
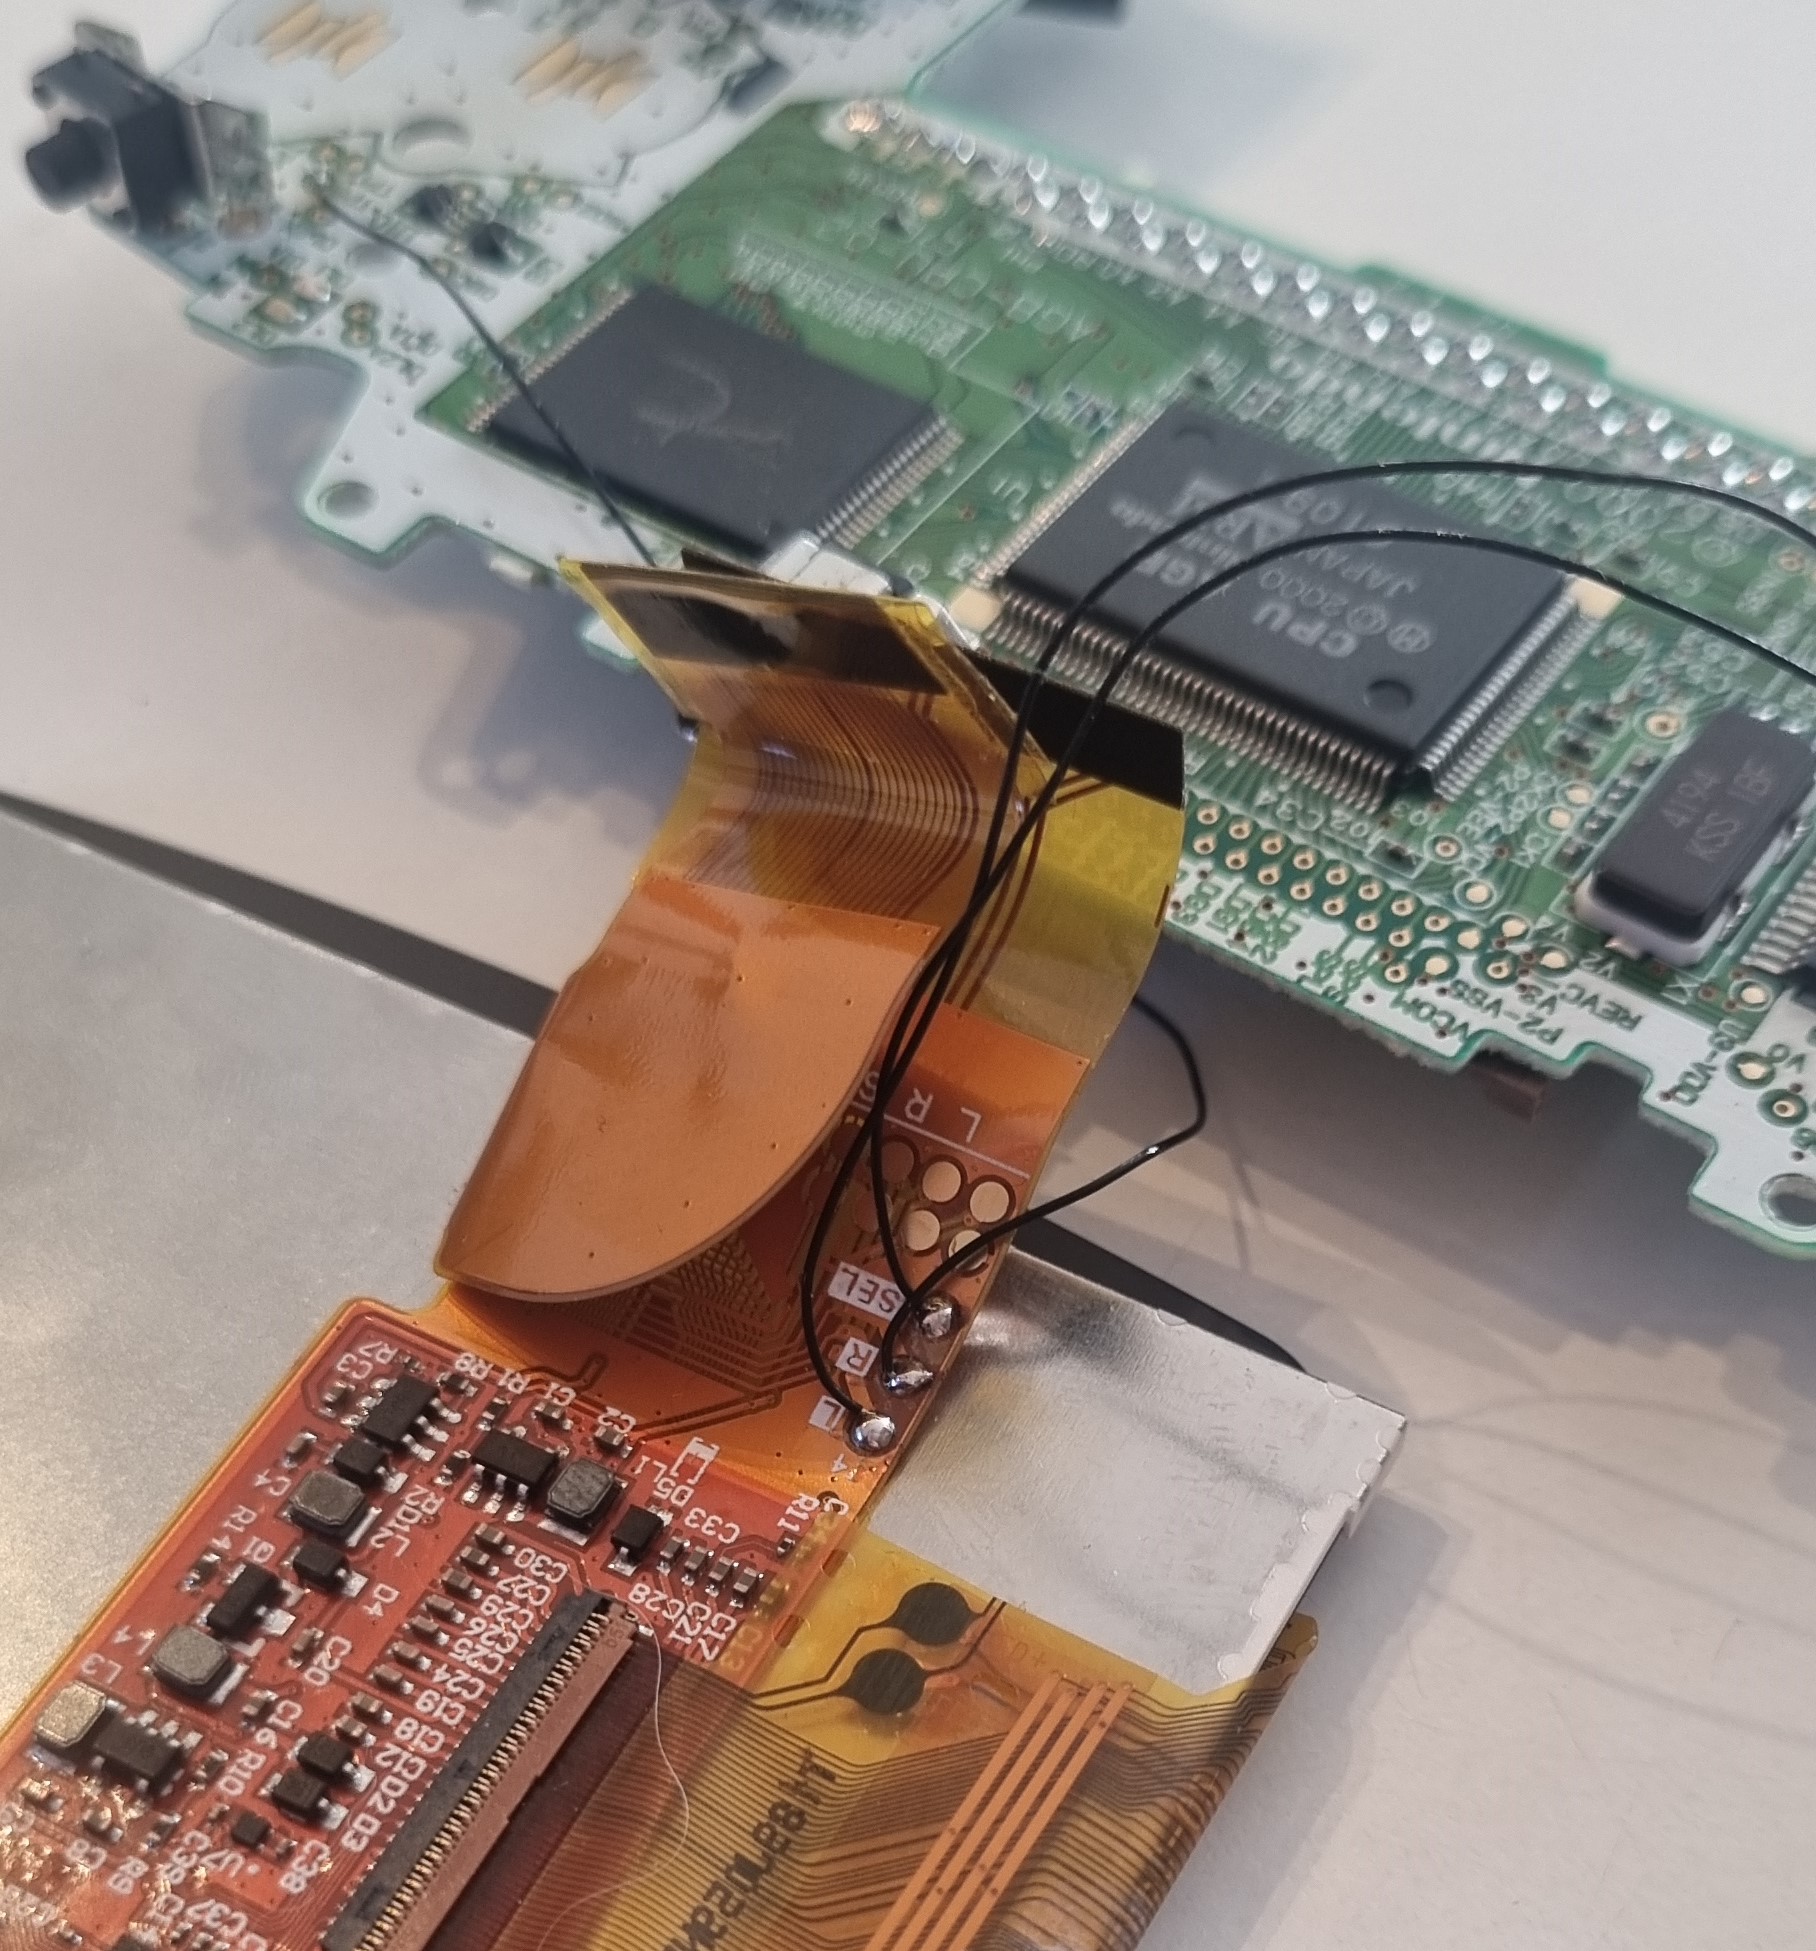
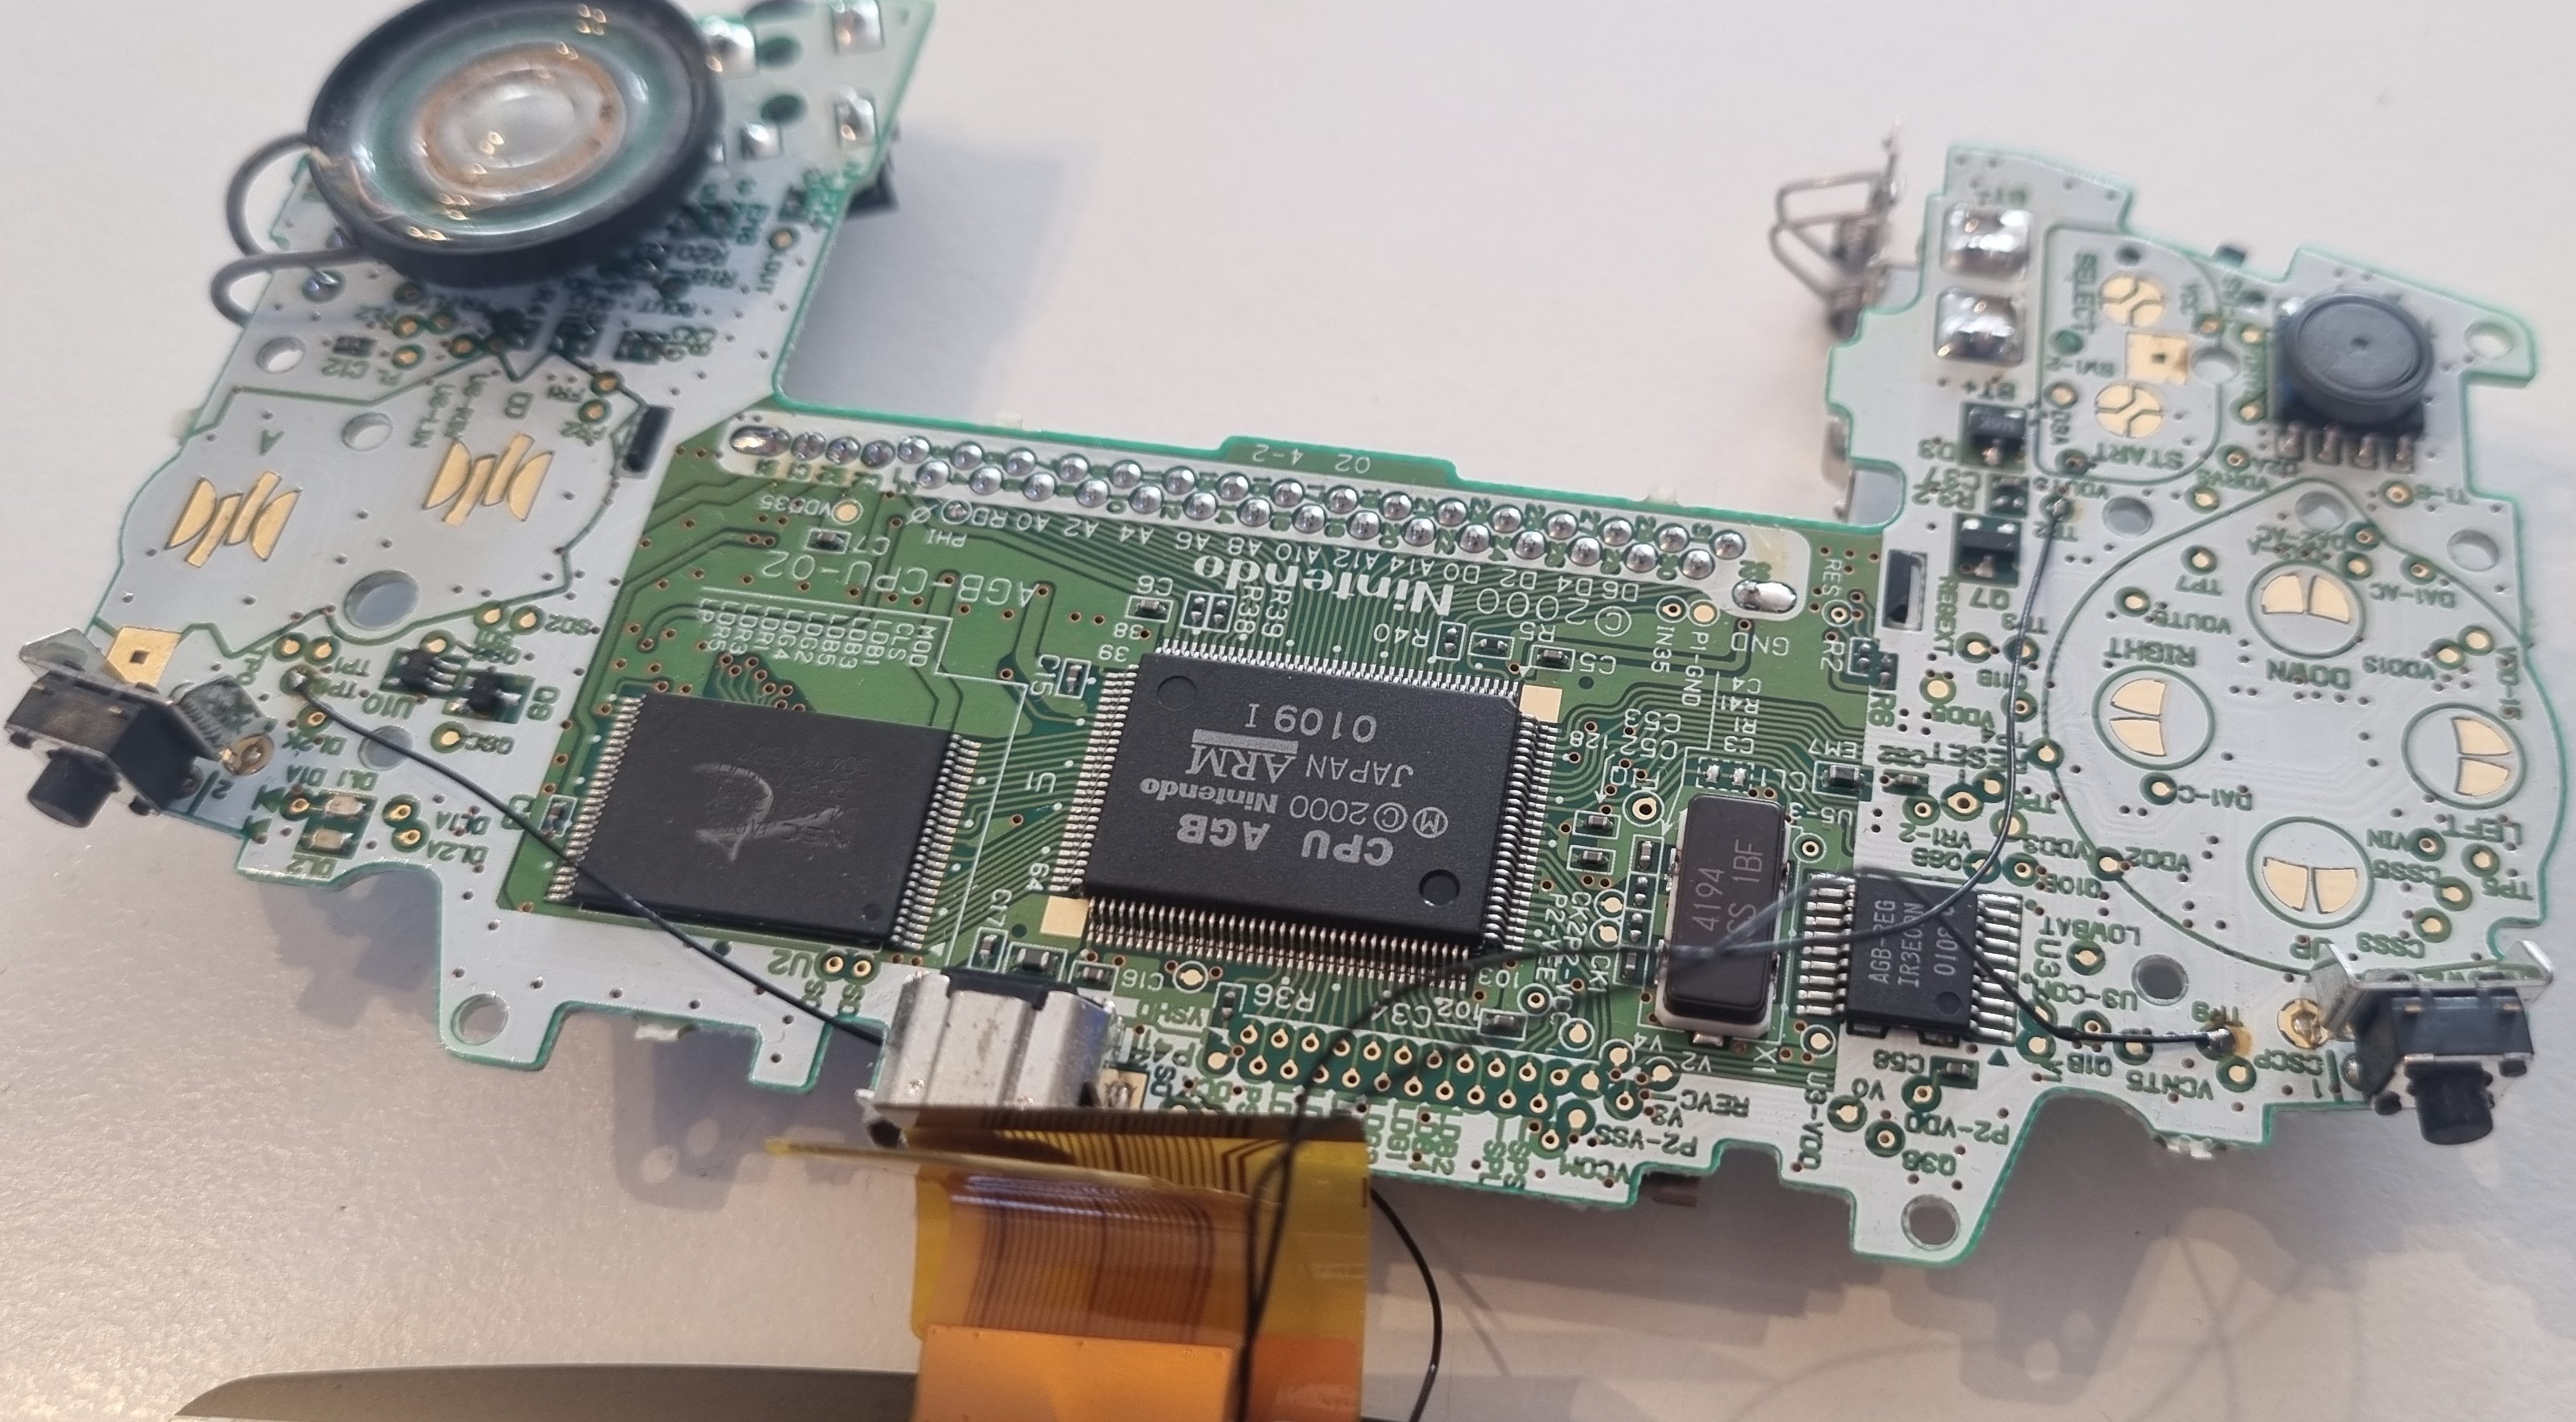
Due to the selected parts, the amount of work to put the modded GameBoy together was minimal. It only took a short Friday afternoon after work. The most complicated part was the soldering needed for the new display overlay controls, which consisted of three wires that allowed the overlay to be controlled with the GBA buttons instead of the touch sensor built into the screen.
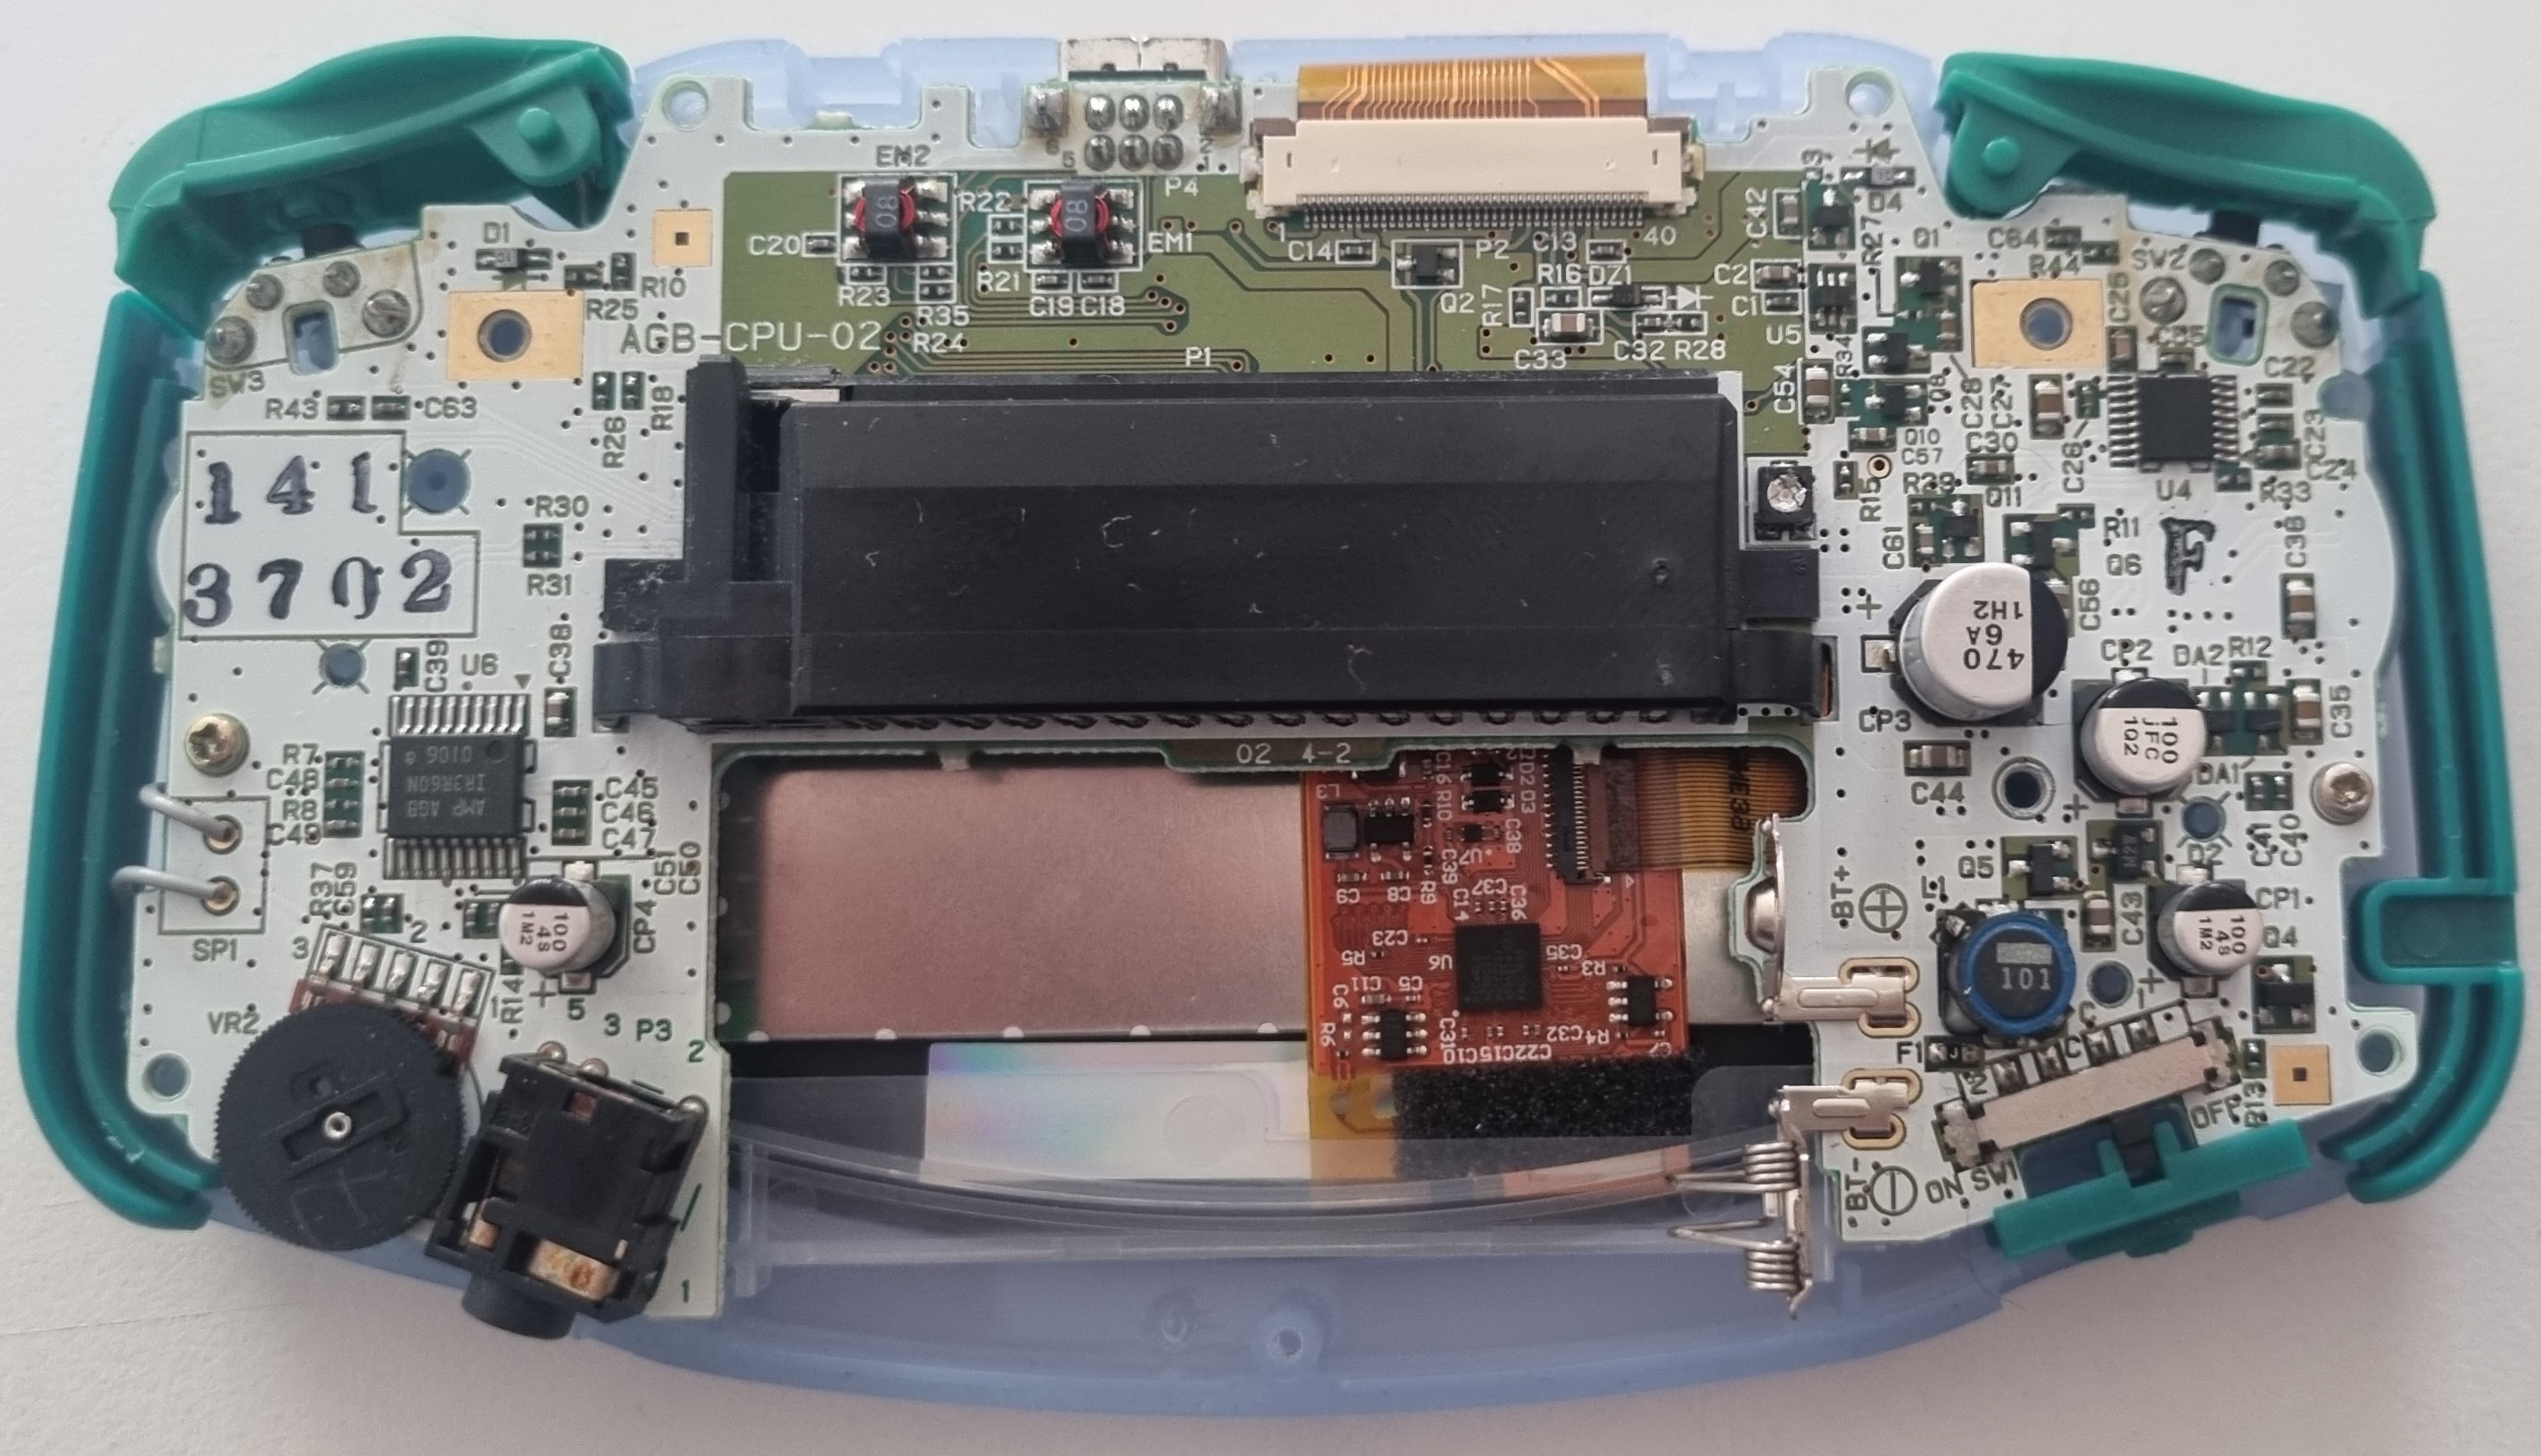
After that, it was mostly a matter of putting the parts in the right spots and screwing everything together.
The results
Once the back shell was screwed down, I was left with a fully modded GameBoy Advance.
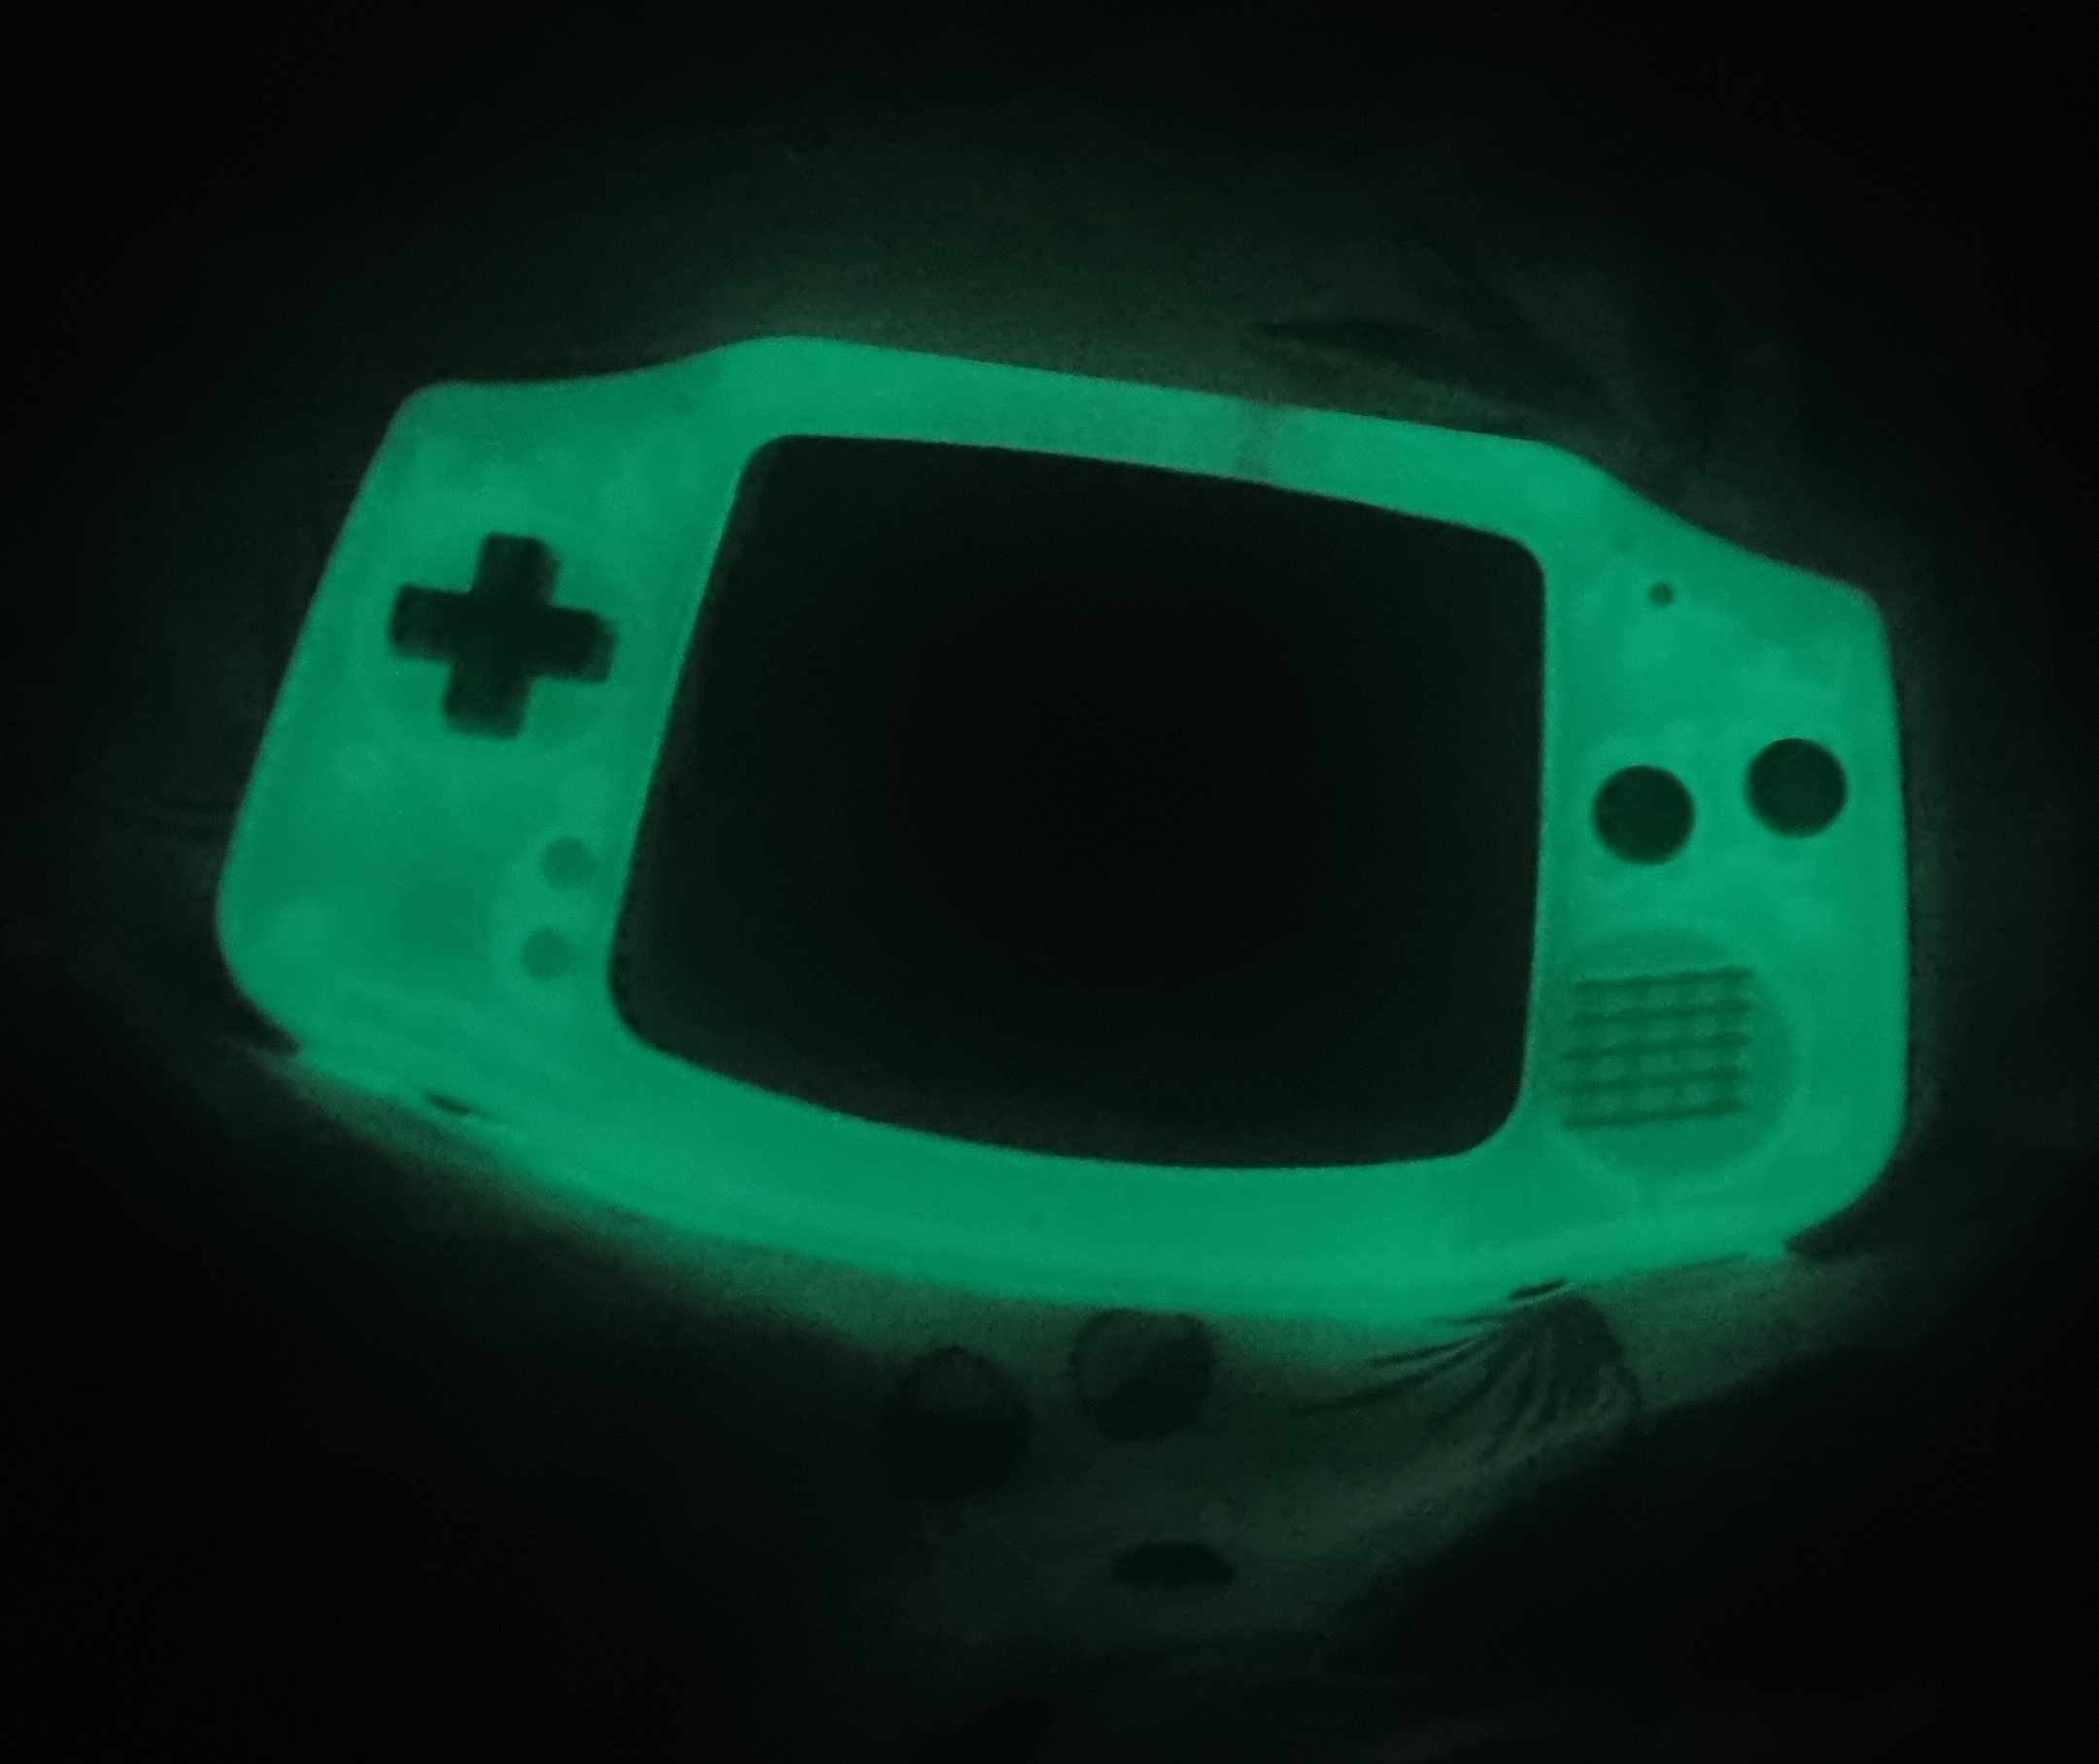
And it glows!


